
| These are some quick directions on how to make a Mattress pincushion out of any of your stitching pieces....how about a poinsettia or any other flower.......a bird .. a name .....how about a saying ....like "add pin here"........the options are endless and you can make them any size ....that is up to you and your finished piece...Have fun and I hope you enjoy your stitching as much as I do :) Read all directions first :) 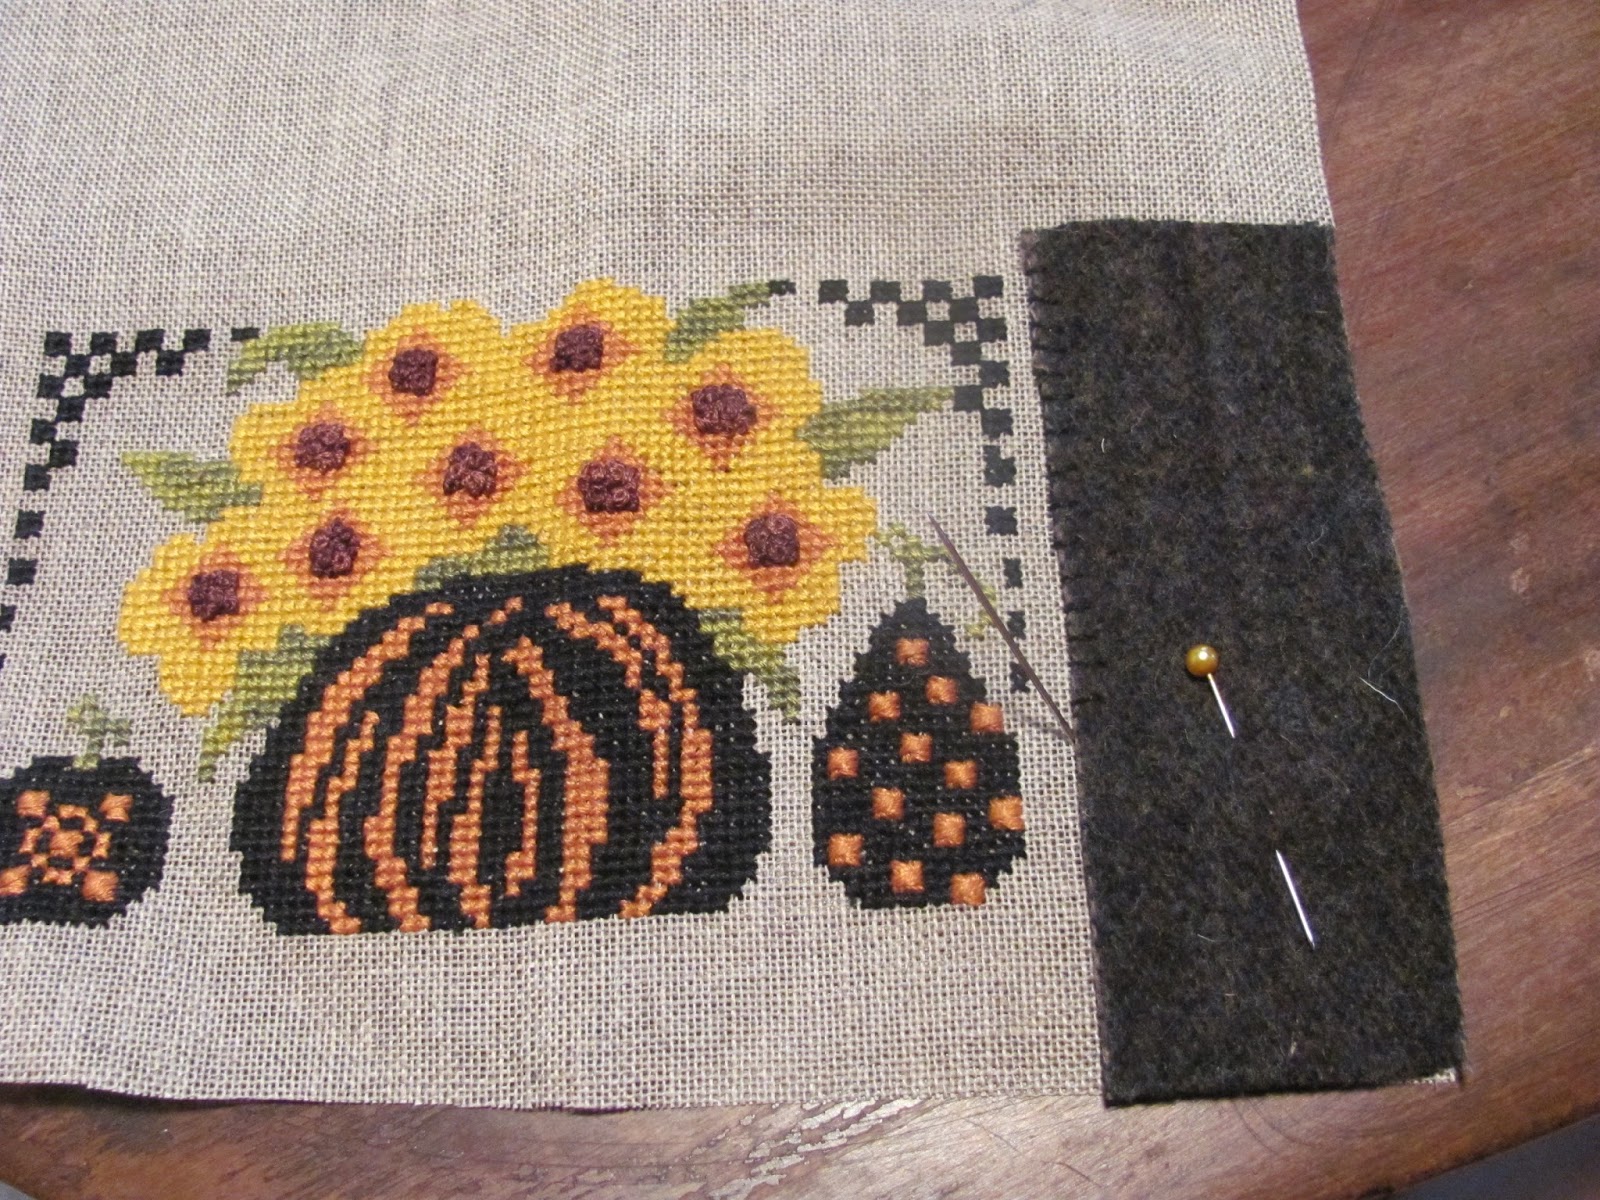 |
| Take finished cross stitch design, iron and cut a strip of wool, any size you would like...pin on top of linen to one side..stitch down the edge next to the designed area..I used a stab stitch or a buttonhole stitch would be great too...maybe a little crazy quilt stitch with a thread that would show your needle work :) |
 |
| Next take another wool strip.. lay it on top of the upper section of the stitched design..pin in place, stitch using a stab stitch or a buttonhole stitch.. At this point you will know the size of your mattress...remember this is all up to you deciding how wide you make your top wool sections...you could also add more wool to the other sides....so when you are finished with the top take your finished piece, lay it on top of another piece of wool (matching your side strip sections) ...cut around the outer edges...this will be the back of your mattress....lay this piece aside until we are finished with the top and the side strips for the mattress. :) |
 |
| The next step is to cut strips of wool 1 inch wide for the sides of the mattress ( you can make them wider...this will make your mattress thicker...it is up to you)...I did not measure how much I cut...just made sure I had enough and long enough to cover a length and width of the mattress top and bottom. see next photo for placements :) |
 |
| Pin the top and bottom strips over the edge on top of the mattress...I stitched these down with a running stitch length wise next to the design on top of the mattress section only...make sure you leave about 1 1/2 inches extra over the edges...see photo above :) |
 |
| Lay the side strips on the left and right sides...again on top like the previous sections...Make sure you only stitch these down on the mattress top ..do not stitch over the other mattress strips (stop in the corners)...make sure you leave extra lengths of wool ....see next photo to connect these strips. |
 |
| Pull the strips together horizontally and pin |
 |
| Close up to see how to pin together |
 |
| Stitch them together straight down, secure thread and cut off excess wool strip. Do this to all 4 corners |
 |
| Turn your piece over....... and pin the back piece of wool to the to the edges of the wool strips that have become your sides of your mattress. |
 |
| Stitch around the outer edges and secure...I used a buttonhole stitch ......next cut a slit into the back woolen fabric only, stuff with walnut shells and fiberfill, pin the opening closed and stitch , using a whip stitch . |
 |
| Complete :), now just to add some tassels to cover the corner edges |
 |
| If you would like to make some tassels ....this is the method I used. I found this on Pinterest and it is so easy.....Take a skein of floss, open up one end.....using a piece of matching floss tie a knot to keep the threads together for the top section. |
 |
| Next....with matching thread make a wrap around the upper skein just under the top looped section...we are forming the head....secure with a knot and pull your threads through to hide......Cut the skein in half under the paper tab. |
 |
| And there you have a tassel......you can get 2 tassels from each skein by following the same process for the other side. :) |
 |
| Your mattress pincushion is just waiting for those fancy pins to embellish it with.....or you can add some buttons, old safety pins., any thing you can think of....... Happy Stitching donna |

Very very helpful!! I don't sew, so I'm at the mercy of a finisher but even I can do this!! Thanks for including the tassel info...brilliant!! Love live your designs!!
ReplyDeleteFabulous tutorial! Thank you very much for sharing!
ReplyDeleteYour pincushion is beautiful! love Annette
Great tutorial - thank you for sharing.
ReplyDeletexxx
Congratulations is beautiful
ReplyDeleteA very nice guide , many thanks .
ReplyDeleteWish you a good time
Warm greetings from Germany
Sandra
Thanks for sharing, Donna !
ReplyDeleteGreat ideas and the pics are very helpful. ;)
Rose