Visit My Etsy Shoppe

Thursday, December 06, 2012

Free Pear Pincushion directions are here :)))

I have the directions finished for you. Please make sure you read all of the directions before you make it, just want to make sure everything is understood first.
The cross stitch chart is not free but the finishing directions for the pincushion are. I also have them for you in a PDF format to print from home at the bottom of this post. So lets have fun and good luck. The cross stitch chart is available on my Etsy or your local cross stitch shop.
donna


#1)  Cross stitch the design onto the fabric and make sure you leave enough room all around the design to trace the pattern and center your design onto. Cut out 2 pieces of fabric and pin the right sides facing. Stitch approx ¼ inch in from the edges with a matching thread and use the back stitch. There are many directions on line for these stitches and I also  have links on the side bar.  

I forgot to do that and had to take it all apart and start over.
 LEAVE ENOUGH SPACE OPEN AT THE BOTTOM TO TURN YOUR WORK RIGHT SIDE OUT .  I also used Fray Check to seal my edges because I did have to take it apart and start over. That made my edges fray. So I let that dry for a bit. If you do use Fray Check make sure that you only get it on the edges and that it does not run into the pincushion design . 
#2)  The next step is to stuff the pin cushion with fiberfill and then sew closed. I used a whip stitch over the top, secured my thread but did not cut the thread.


I then made a running stitch around the bottom and pulled to gather and make the bottom of the pin cushion more of a circle pear shape. After you are happy with the bottom, secure the thread and cut. 


#3) the next step is to draw the branches onto the pincushion. I did use a permanent marker but I suggest you use a marker that you can make it disappear with a light spray of water, just in case you are not happy with your layout. I used my cross stitch design as my reference. I made the branches go around the top and down one side, across the bottom, and I made more in the back of the pincushion. I then used a brown perle cotton with a couching stitch and outlined all of the branches. You do need a spot for inserting your needle into the pincushion so I used the top and bottom sections because these areas will be hidden later. 


#4) The next step will be the leaves. I cut a long strip of 1 inch wide wool and then cut it into 1 inch squares. See the photo for cutting directions. I always cut free hand up one side of the square and then around the other side.

I then attach then to where ever I think they will look good. I make a stitch in the bottom of each leaf to make a little pucker and then attach them to the pincushion. (DON’T FORGET YOU ARE RUNNING YOUR THREAD FROM THE TOP OR THE BOTTOM OF THE PINCUSHION)
I have provided photos for you of the front and back so you can see approx. placements. You can decide on your own about your placement because your branches will be in different places than mine.  


#5) The next step is to cut the pears. I once again used a 1 x 1 inch square and folded the square in ½ and cut around to make a pear shape. See photo for idea. I made 9 pears and gathered a stick from the yard. I broke the stick into small pieces for the top of the pears.


Using my hot glue gun I dabbed a tiny bit of glue on one side and held the wool around the stick. Set aside to dry. See photo

When making the larger leaves for the top of the pincushion or if you need larger leaves for the bottom, I cut a piece of wool 2 x 2 inches and cut it out the same way I did for the smaller leaves. With a larger stick I glued the leaf and stick together at one end only. This will be the top of your pear pincushion. 

#6) You are now ready to apply the small wool pears to the pincushion. I just made sure I was happy with the location I was going to place them in and then it is just a dab of hot glue and add them in place. They stick out and look so dimensional. You will be inserting the top of the pear: the stick and large leaf next   I just put plenty of hot glue in the center of the top of the pincushion and inserted the stick with the leaf. MAKE SURE YOU HOLD THIS DOWN INTO THE TOP AND SQUEEZE IT TOGETHER FOR A FEW MOMENTS. You want an indentation in the top like it was a real pear. 


You are ready to glue in onto a base. I used a small white urn that I purchased at a used store for a $1.00. What a deal :)))) I added some larger wool leaves around the bottom of the pear because it did not fit just right into the center of the urn, so I covered  up some spaces with the leaves. I hope you enjoy making this  pincushion and if you would like to share any photos of your finished pincushion please email me at stitchbythebay at g mail dot com  

Thank you 
donna
Here is the link to the PDF for you. This one has the pear pincushion paper pattern 


Wednesday, December 05, 2012

Finally Finished the pear pincushion


YEAH!!!
I worked most of the afternoon on the pincushion and it is finished. I took plenty of pictures and I will make the directions up tonight and have them ready for you tomorrow. These are FREE directions to make the pincushion but not the partridge. I wanted to give you an idea to make something else with your stitching other than framing it. I hope you like it.
Until tomorrow
donna

Sunday, December 02, 2012

Great Class and PDF's on Etsy

some trees from the first class

some trees from the afternoon class
I had such a great time yesterday, I didn't expect the snow that we received. It was pretty slippery in the early morning and I slid right through a red light. It was scary for the moment but I made sure my speed limit on the way home was only 25 all the way. It was so crowded in Kennebunkport for their Christmas Prelude. They had a HAT parade, great craft fairs and caroling. I believe Santa arrived too. The gals in the 2 classes I had were great and they were so happy with their trees, they want to make more. LeAnn is booking more tree classes for next Saturday the 8th and also the 15th. So if you live close by please sign up because it is so much fun.
I have added the directions for the wool trees onto my Etsy shop. I have included the directions for an 8in, 12in, 18in, 24in, and a 36in tree in the packet. I have these in PDF format so you make them in time for Christmas. I also included the site that I purchase the tree stands from if you want to order them on your own,. I did order some and as soon as they come in I will add them to Etsy but they are not here yet.
Included in the class was the directions and a kit for the Little Clip-On Birds. I am offering the PDF directions on Etsy for these cute birds also. The source for the clips for the bottom of the birds is included in the chart too and I will be ordering more for myself and the Etsy shop this afternoon.
There are plenty of colored photos for you in the directions.
I am off to fix the partridge and the pear pincushion and to design a cardinal for the next "Bird Of A Funky Feather"
Have a great day
donna

Friday, November 30, 2012

Getting Ready For Classes Tomorrow & I didn't forget about the pear pincushion :)

Happy Friday to everyone, I just finished getting kits ready for classes tomorrow at Camp Wool in Kennebunkport. I also just finished the directions that I will sell on Etsy (by Sunday) for making wool feather trees. I have the dimensions in the chart for 8 inch, 12 inch, 18 inch, 24 inch, and 36 inch trees along with color photos. I will also have on Etsy the directions to make the small wool clip-on birds. . The charts will be sold in PDF format so you will have time to make some before Christmas. I made a few of them in different colors and here they are:


And here are some pics of the different trees I made. These are so much fun to make with friends, coffee, cookies and a little Christmas music.
8 inch tree, it is soooo cute 
12 inch tree just the right size


18 inch white tree in a small vase with white seashells in the vase for fill

24 inch tree that the wool is just perfect, I wish you could see the real color it is a light green plaid and it looks like snow on the branches


And yes I remember about the Pear pincushion but it came out awful so I am going to take it apart on Sunday and redo it. As soon as I have something to share I will post about it and give you free directions for that pin cushion . 
We had a quiet Thanksgiving, hubby was in the hospital until this Wednesday. So I had been visiting him and all he wanted for Thanksgiving was desert so mom made him his favorite, cinnamon cake, he was very happy. I hope you all had a memorable Thanksgiving. 
Well I went to bed last night at 1:00am (I guess that was this morning) and then I was up at 6:30 this morning  just stitching away and making directions and I still I have a bit more packing to do so good night until Sunday
donna


Monday, November 19, 2012

Still working on the Pear pincushion and I just added some frames to Etsy

Oh it is chilly here !! or maybe it is just me, I think I need to put some socks on. I have been working so much to get orders out and make Holiday deadlines. Had to bring hubby back to the hospital yesterday and we are not sure if he will be home for Thanksgiving he has to try a different form of a blood transfusion. So we will give thanks and pray more. My son is 31 and has a family of his own and we have to share Holidays with my daughter in-laws side of the family and my daughter is 19 and now we have to share with her new boyfriends family too. So if hubby is still in the hospital it looks like it will be just my mom and I for Thanksgiving and the 2 cats. We will see my son on the weekend for our Thanksgiving and who knows what time my daughter will be home Thursday, so mom and I will be doing some knitting and stitching, watching TV, eating turkey and pork pie and just relaxing and maybe if hubby is good we will visit him, haha!!
I hope you all spend sometime with your family and if you do not have family I hope you have some good friends. I am still cleaning and I need to make that grocery list and go to the laundromat but I just wanted you to know that I am still working on the pear pincushion and I should have in finished in a couple days maybe even on Thanksgiving. That would be a treat, I will pdf the directions for you too.
While I was cleaning I found a draw that contained some frames that were made just for my Funky Flowers if they are stitched over 1 on 28ct linen so I added them to my Etsy shop. Take a look they are so cute and would make a great Christmas gift
have a good night and I am going to find those socks
donna
These are the small frames

Thursday, November 15, 2012

New designs just in time for the Holidays

Happy Thursday to everyone. I have another new design to share with you. "Santa Tending The Sheep"
I just finished him last night and took photos this morning and took directions to the printer very early. I just love him. I love all things with dimension so I made him by cross stitching everything first and then going over the cross stitches with french knots in the areas that I wanted to be raised. I also used different amounts of floss to make this. So the directions have my suggestions for the different thicknesses for the knots or you can just leave him cross stitched. Either way I love him. Oh and one more thing the frame I found at Michael s craft store  but I made him to fit any 5 x 7 frame if you stitch him on 14ct Aida or 28ct linen over 2.
And here he is

I love his mustache and eyebrows

I made the berries from french knots but you could also use beads 

The fur on Santas coat is made with Gentle Arts Cinnamon and the sheep is so woolly I just want to hug him

I also want to share a photo of my "Birds Of A Funky Feather" I have a 5 stitched on one piece and the next one is in the works. Maybe a red cardinal :) for winter

Just one more thing to share. I have a thing for pears and partridges so since I have quite a few of my Pear pincushions kits that are left over from an event last spring I would like to offer them you along with a pin that I made especially for the pincushions. I took my pattern of my partridge and sized it so I could make pins for you. I then drew and filled in each one with oil pencils. So for each kit you purchase from my Etsy I will include a Partridge pin. These are limited because I only made so many but I can always make more but at the moment I am so busy.


Ok just one more thing I forgot to tell you. I am offering the models of my "Vineyard" series on Etsy. I have no more room at home for models of the discontinued charts and my husband just love these but there is only so much wall space in a home. So if you know of a vineyard owner (Maybe you do) or someone that loves grapes and wine check it out on Etsy

I will share more this weekend but hubby has a doc appt tomorrow and it is far so I will spend the day traveling but I will catch up with you on Saturday
have a good Friday
donna

Friday, November 09, 2012

Update for "Birds Of A Funky Feather" and a new peek


Happy Friday to all of you, 
I have been busy stitching and designing, I just finished Birds #5 and it is just in time for the Holidays. It is a partridge in a pear tree (or at least branches) I am also working on restitching it and finishing it as a pear pin cushion. I will put the directions for the pincushion on this blog for you.(give me about a week:)) 
I also sent a new design for winter to April (my helping hands), And I have added a peek at another design that will be finished my Monday. So you all know what I will be busy doing, stitching, stitching, and more stitching. Have a good weekend
donna


who could this be???? 


Sunday, November 04, 2012

SAL update

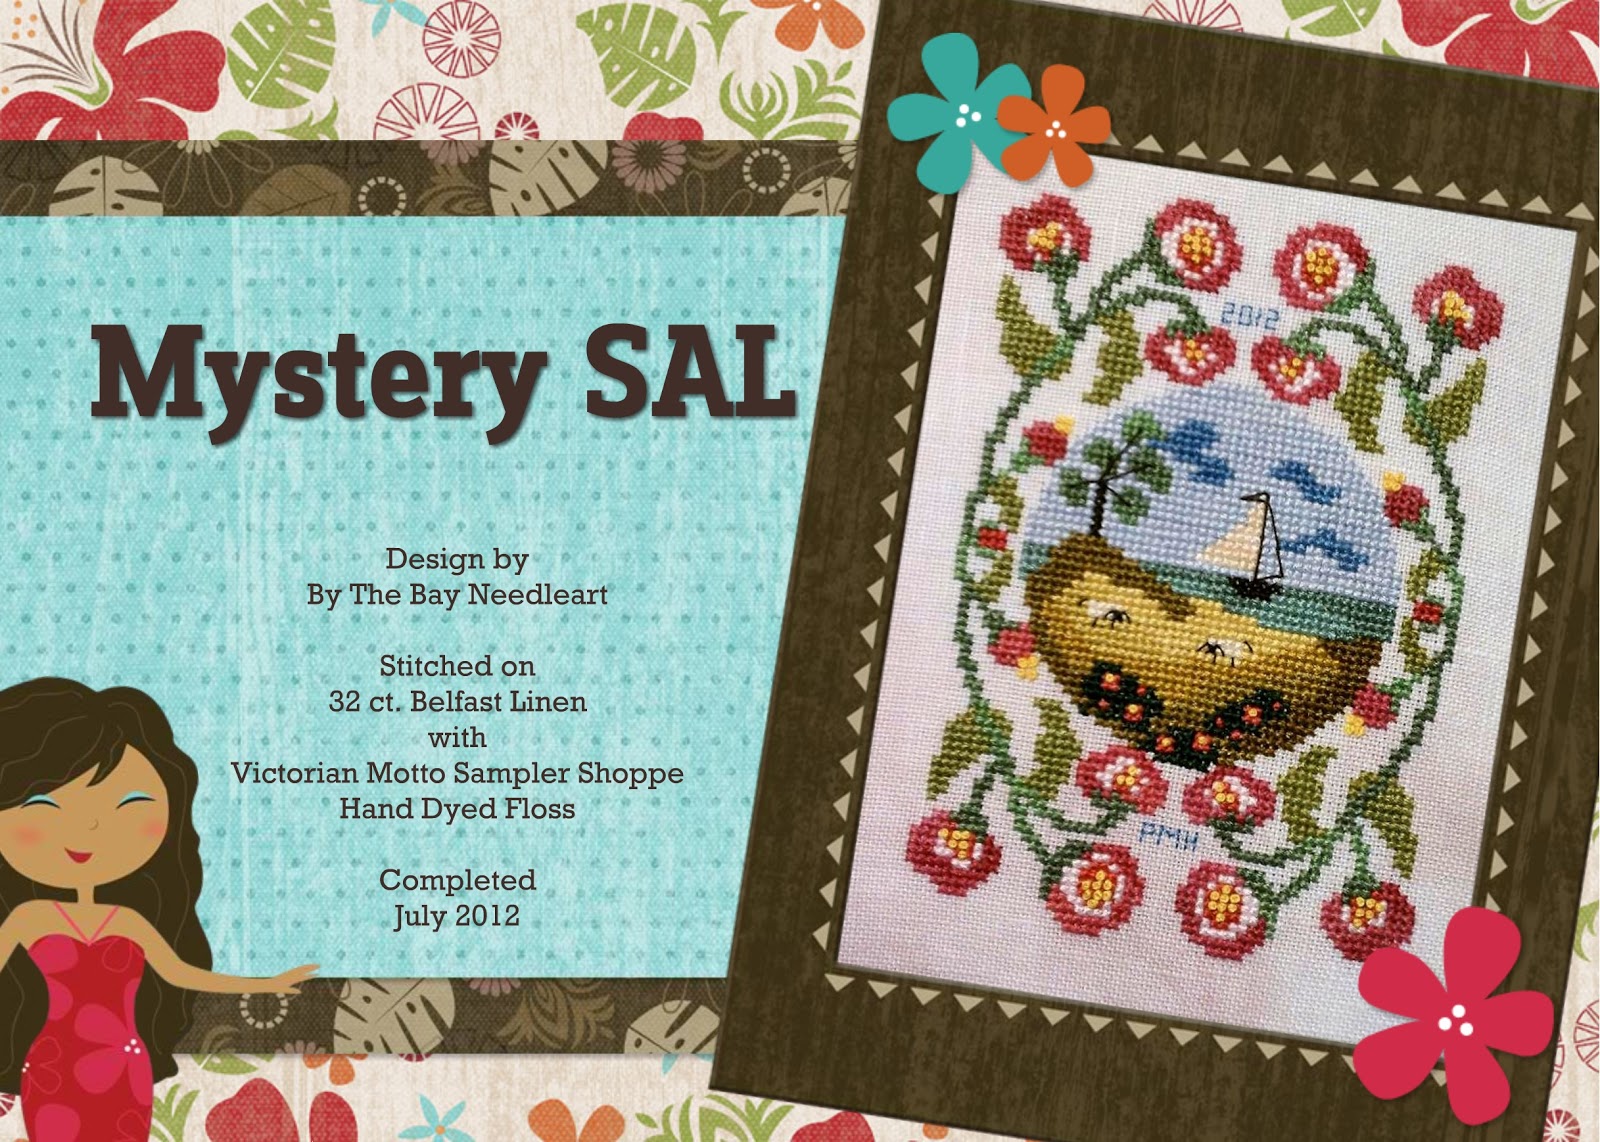
I just finished posting the finished SAL photos for everyone to see all of their great work. I so enjoy doing these SAL's but the Holidays are upon us so I will do another but not until this winter, maybe January. 
Please enjoy scrolling through everyone's work and leave a comment if you like, they worked hard and the stitching is wonderful. I also have these posted on the SAL page of this blog.


These photos are from Annette. I couldn't decide which photos to share so I posted all four

Finished work from Megan

Finished work from Arcadia

Finished work from Meari

Finished work from Raffaella

Finished work from Char

Finished work form Annika

Finished work from Isa

Finished work from Cemavi Sophie

Finished work from Anna S. 

Anna S.

And I just found this email from Annie Bebop she finished the summer SAL into a camera  pouch, what a great idea :)

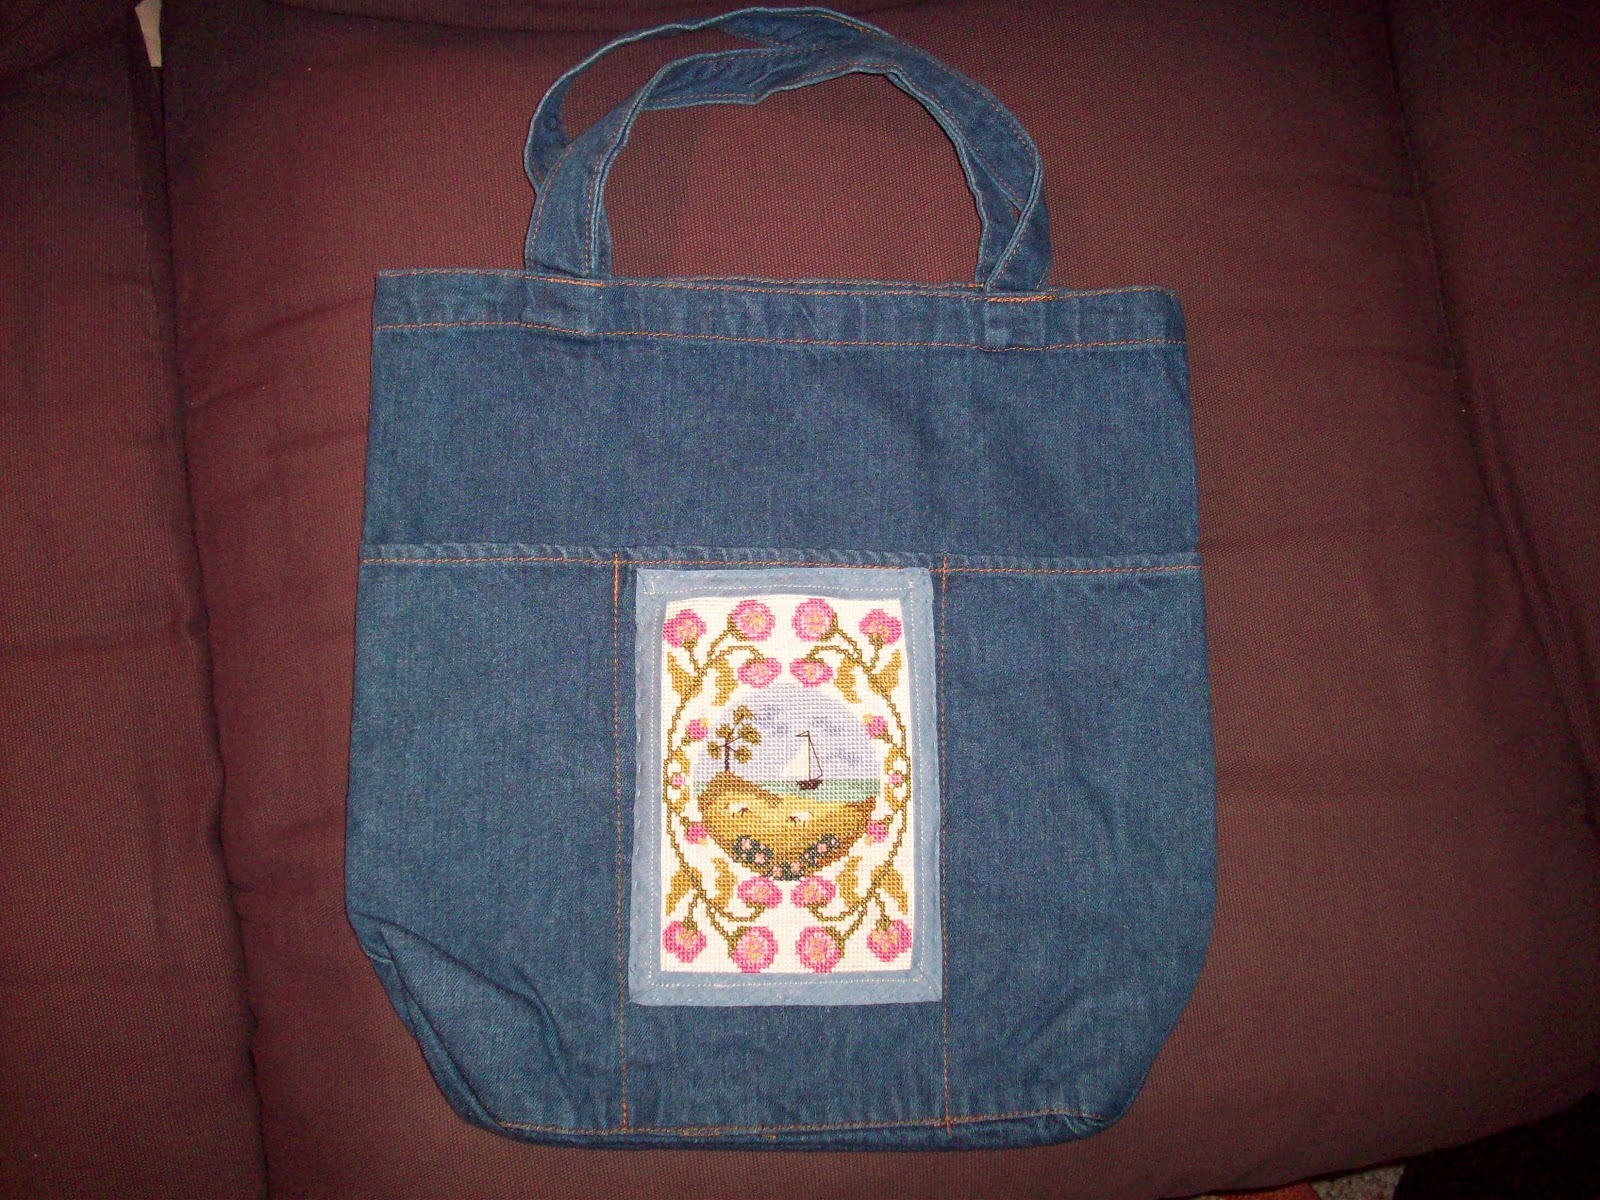
And another finish for the Summer SAL form Nancy in SC. You guys are so creative at the finishing. A denim bag is a great idea too

Another summer SAL finish from Pam in IL

About Me

My photo
Hi everyone, my name is Donna. I just love stitching of all sorts, I also love antique, and book stores. I am married and I have 2 children, and 3 grandchildren :). My Christian faith is the foundation of my life, and has sustained me through the ups and downs of this journey. Keep spreading kindness so you can change the world. So glad you stopped by, leave me a message and I will stop by and visit you.

Blog Archive

Stitch An Inch Fall

Stitch An Inch Fall